hi-res image quality difference VOXL and VOXL2
-
Is there by any change any news on this?
-
Hello @mark ,
We are still working on tuning the image quality. However, i made a test version of the updated IMX412 camera driver and tuning file for you to try if you are interested.
You can find the zip with files here
- please remove all the
com.qti.sensormodule.imx412_*files from/usr/lib/camera. the original ones (in case you want to revert) can be found here on your VOXL2 :/usr/share/modalai/chi-cdk/imx412/ - place the appropriate
sensormodulebin into/usr/lib/camera(depending on your camera slot id) - place
com.qti.sensor.imx412.sointo/usr/lib/camera/. This.sofile contains functions for properly setting exposure and gain specific to the camera - place
com.qti.tuned.imx412.bininto/usr/lib/camera/- this is the tuning file which contains image processing parameters
Just to avoid any confusion, please disconnect all other cameras for this test.
Then you should double check your
/etc/modalai/voxl-camera-server.conffile to set the desired resolution and fps.It is also generally good to double check which native camera resolution is selected by the camera pipeline. You can do it by running the following command before starting the camera server:
logcat | grep -i selectedthen start
voxl-camera-serverand you should see output (in the terminal where you ran
logcat) :... chxsensorselectmode.cpp:635 FindBestSensorMode() Selected Usecase: 7, SelectedMode W=3840, H=2160, FPS:30, NumBatchedFrames:0, modeIndex:1 ...this tells you that the camera pipeline selected the native camera mode 3840x2160@30 .
When you test, i am curious to see updated image, compared to what it looked before. Also, please note note the exposure and gain that is used (assuming you are using auto exposure, you can tell the values using
voxl-inspect-cam) - please remove all the
-
Hi @Alex-Kushleyev,
Thanks for the reaction, i tried the new camera binaries, and i think the images are better for it. Using the same features as before the image went from this:
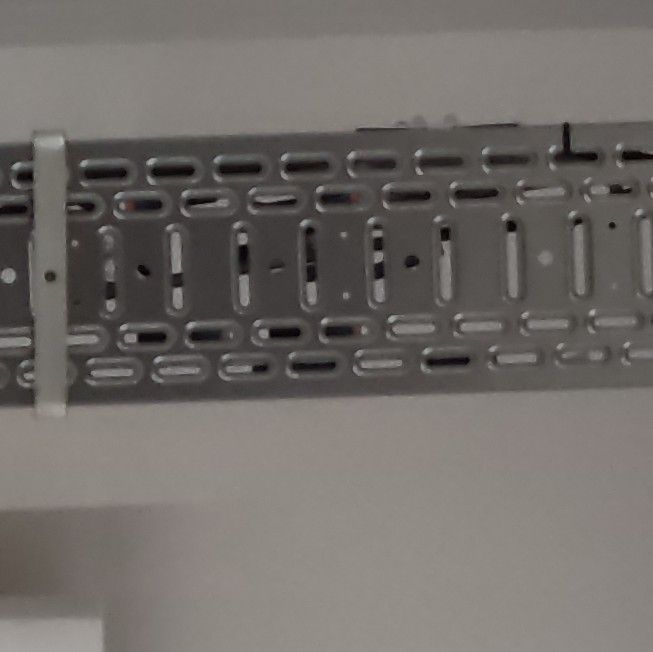
to this:
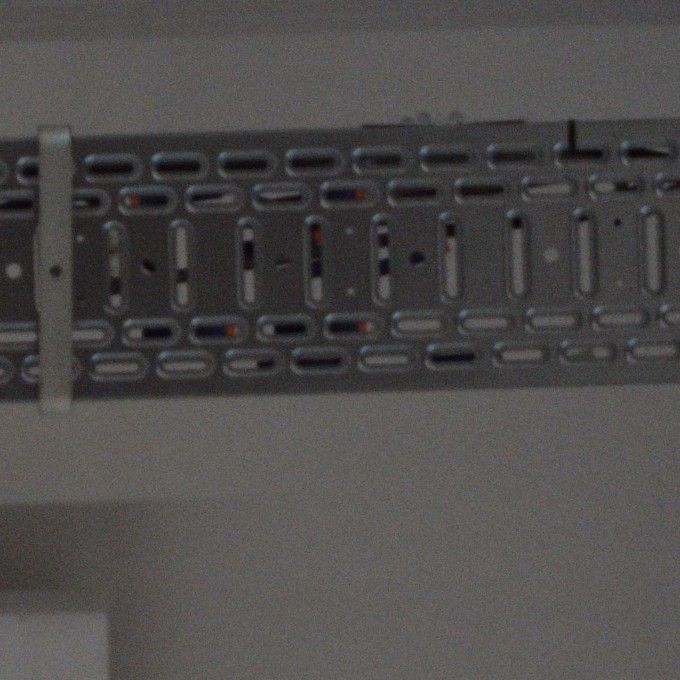
There seems to be a bit more noise, but the quality of the image and especially the colors are better. I also tested on something closer by. old:
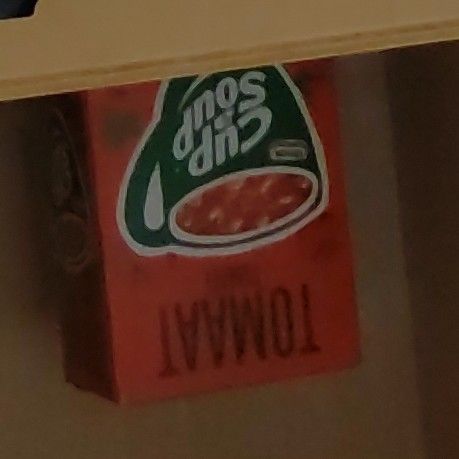
new:
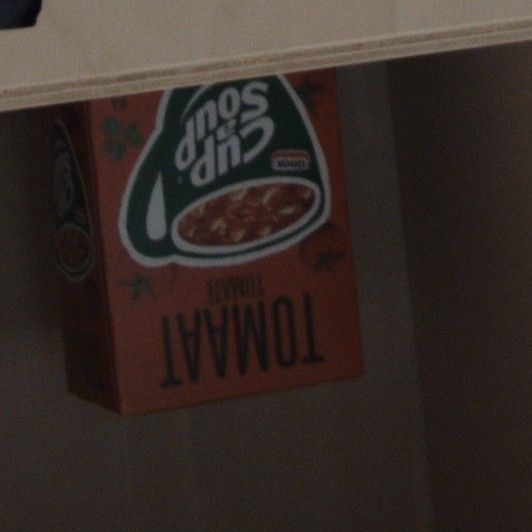
Comparing these images it seems like before there was some kind of smoothing happening on the older version, that is now not happening anymore? also it seems that i need longer exposure times to reach the same brightness in the images. The resolution the camera server picks seems to be different from the config file. In the config file the resolution is set to 3000x4000.

Also when the camera is set to be 3840x2160 in the config file the resolution seems to be different, but in both cases the images coming through the pipe are in the expected format. so i don't know if this is an issue?

-
Hi @mark , thanks for testing out the new camera binaries. Here are the answers to your recent questions:
- In this version of the imx412 tuning file, i have removed several stages of filtering. There is indeed more detail that you can see but there is also more pixel noise as you noticed.
- the relative brightness of the image has also changed, but you should double check the exposure and gain values before and after you switched to new camera binaries. It is possible that the Auto Exposure control is not commanding as high exposure or gain. We can adjust this if needed.
- please note that the amount of filtering depends on the application. The "before" image is actually much more preferable to use in video encoding (h264 / h265). you would need a lot less bandwidth to send that image. If there is a lot of pixel noise, the encoder will require much higher bit rate to encode that image, otherwise the quality of compressed video will significantly degrade. So if your application is related to small feature detection, you may not want heavy filtering done by the ISP, but for use in video encoder (especially with a low bandwidth communication link), you would want something closer to the original image.
- Regarding the resolution question.. The camera driver has a small set of different resolutions and fps (lets call them RAW resolutions) that it can use the camera. When you request some resolution in camera server config, there is a process that goes through all available RAW resolutions and fps and picks the best one. The best pick is usually either a perfect match of RAW = desired resolution. If that is not available, the next best is RAW size > desired size. Then the ISP will get a larger image and crop it to the desired size. In the latest IMX412 driver, here is the list of available RAW resolutions and fps:
- 4056x3040 @ 30fps (full frame = maximum image size)
- 3840x2160 @ 30fps (exact 4K size, cropped on camera)
- 1920x1080 @ 30-120fps (exact 1080p size, 2x2 binned and cropped on camera)
- 1280x720 @ 60-180fps (exact 720p size, 2x2 binned, cropped and downscaled on camera)
So, when you requested 4000x3000, the best match is 4056x3040, which is the size the ISP receives from camera and then ISP will just crop it to 4000x3000.
Additionally, regarding the pixel noise - usually the pixel noise is directly proportional to the gain that is applied on the pixel level. This is the gain that you see in
voxl-inspect-camand usually the exposure and gain have to be adjusted to together to achieve best results. For example, having a long exposure will work well for still images (so you reduce the gain thus reduce noise), but will have a lot of blur in dynamic images. For fast moving applications, you want to keep exposure low, but have to increase the gain in order for image brightness to be sufficient, which will result in more pixel noise. The ISP in VOXL2 has very advanced filters that attempt to de-noise the image without sacrificing detail, but they need to be carefully tuned, so for now i have disabled them.Also, indoor applications where there is little light, will typically be a bit more complicated to get low noise image (it seems that is your test case right now). If you test outdoors or with good indoor illumination, the auto exposure algorithm, will set the gain to a low value, and pixel noise should be reduced.
If you tell me a bit more about your application (does not have to be very detailed), i can make suggestions how to better use this camera. I am also looking into making a few "tuning knobs" available for users to control amount of filtering, but it is not available yet.
-
Hi @Alex-Kushleyev
Thanks for the clarifications! A little bit of context for what purpose we use the camera's. We do analysis on the images taken, this analysis consists of detecting smaller features like plants on the image, usually the size of a couple pixels, i think in the neighborhood of 20x20 pixels most often. The amount of light available is dependent on the day, but usually there is enough light available that we can use short exposure times. (the tests above were indeed done inside the office and not in the practical sense we would otherwise use the drones.) For our applications the pixel noise is not that much of an issue as long as the features are visible. The video encoder we on not use.
As for the exposure times, these were set manually and not using the auto exposure as i thought this would be a fairer comparison. So in the images the gain was set to 400 and the exposure to 10ms, but the lighting conditions indoors are not that bight for the images, so the images were also somewhat darker than typically would be the case.
The idea of being able to tune the camera would be interesting for us, but i expect that would take some time to implement, but we are looking forward to it. -
@mark , if you want to completely remove any filtering and have full control over image processing, there is a way to request a full resolution 4056x3040 10-bit image from IMX412. We have tools to convert the 10-bit bayer image to mono and RGB (computations done on CPU, so they are slow).
I just tested this out and it works. I needed to make small change in camera server to convert from 10 bit to 8 bit image correctly. By the way, also if you really wanted, you could convert 10 bit to 16bit image and use make use of higher bit width for more detail.
If you are interested in trying out the direct RAW10 -> RGB approach, please let me know, i can provide instructions. I used voxl-portal to view the mono and RBG images that were converted from RAW10 to RAW8 and then debayered on CPU.
Regarding the ISP processing tuning knobs, yes it will take some time, I don't have an ETA yet .
Alex
-
@Alex-Kushleyev Hello! We're just starting a new project where we need to as much detail from high-resolution images as we can get, so this is pretty relevant for us. I can confirm that the new ISP is much better for our purposes; in the older firmware, the processing tended to oversmooth images and introduce artifacts, see for example the included image.
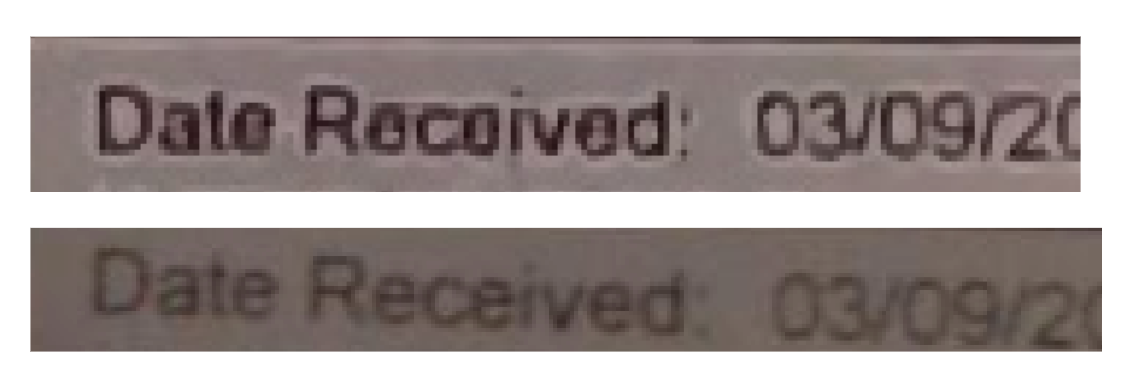 , with old and new ISP. Note the conditions are not exactly the same, but hopefully it shows what I'm talking about; in the old ISP the letters are kind of smushed and there's some ringing artifacts. So thanks for the new ISP.
One thing that would be useful are flipped versions of these, currently we're getting all our images upside down ;).
Even more useful, as you touched on, would be to have some more control on the ISP side, as well as access to the raw images - I understand there's a tradeoff in efficiency and compressibility for video - in our case, we are willing to sacrifice latency for quality. Thanks!
-
B blossomrd referenced this topic on
-
@blossomrd , if you are looking to get as much detail as possible and potentially running your own image processing / filtering, then it may be better for you to use the RAW (bayer) frame from the camera and doing de-bayering yourself. We already have software debayering option in voxl-camera server which uses no filtering.
ISP tuning is a complicated process and due to closed source nature of the ISP, it is very difficult for us to provide tuning knobs.
Please let me know if you would like to try working with the raw / bayer image and i can make sure the camera server does what you need it to do (please specify which resolution you are using with IMX412, i will check that exact scenario). I saw that you referenced a repeating pattern in the other thread, it is due to mismatched image stride when generating the output image in
voxl-camera-server, so i can double check that for your resolution.Also, it would be helpful if you provide some more information, such as what you plan to do with the image (compress it into h264 / h265 stream using HW encoder) or send it out uncompressed to another computer on the network.
Alex
-
@Alex-Kushleyev
Hi Alex, thanks for the response and sorry for the delay. We've been running some preliminary experiments and already have some better results doing simple (and in retrospect maybe obvious) improvements like using the NV12 images (optionally encoded at high JPG quality) rather than the default JPG images provided by the snapshot tool.However, we would definitely be interested in trying out the raw bayer images - going forward we might be looking at trying out some more experimental ways of processing the image data, probably not in real time but after data collection. I made a quick attempt at getting these images with the
previewstream but couldn't get it working, so some explicit steps would be appreciated :).The resolution we are interested in is the (native?) resolution, 4056 x 3040, with the IMX412. More system details:
system-image: 1.7.4-M0054-14.1a-perf
kernel:       #1 SMP PREEMPT Fri Feb 9 22:38:25 UTC 2024 4.19.125
--------------------------------------------------------------------------------
hw platform:  M0054
mach.var:     1.2
--------------------------------------------------------------------------------
voxl-suite:   1.1.3-1
As for background information, our application is reading small text (via OCR) at a distance, such that we might only get a few pixels per character. Clearly our ability to do so depends also on the lenses, gain, etc., so we are also optimizing those in parallel. There is also some ML-based processing that will happen after data capture, but the outcome will likely be better the more information we can get from the image, hence working with raw data is something we are interested in exploring. Luckily, we don't have to do this at frame rate - we will do this offline, after data capture, so we can afford trying some more sophisticated but slower methods. Moreover, we only need to do this for images captured every few seconds, rather than continuously, in a video. (That said, we are still exploring, and might also consider a burst capture of 3-4 frames as an alternative method to get more information out of the images).
-
I will provide instructions how to dump the raw bayer images from IMX412 at full resolution and debayer offline.
Meanwhile, quick question - do you always need to process the whole image or just a part of it (at highest resolution). In other words, are you constantly looking for text in the whole image, or you know where the text is, so selecting a smaller region could reduce the processing times if manual debayering / filtering is done.
I will get back to you soon after I get a chance to test the configuration.
Alex
-
@Alex-Kushleyev Hi Alex, awesome! - and that's a good question. We don't know necessarily where the text will be in the image beforehand, so do we have to look for it. On the other hand, looking for text and reading it are two different stages - so we are planning to try a pipeline where we first find text at a lower resolution/lower quality and then process selected crops with more resolution and/or processing. So, in short, debayering only selected parts of the image is something that we are interested in, but we only know what regions to process at runtime, not before we look at the image. If debayering selected regions is possible that's something we are definitely interested in. Thanks!